

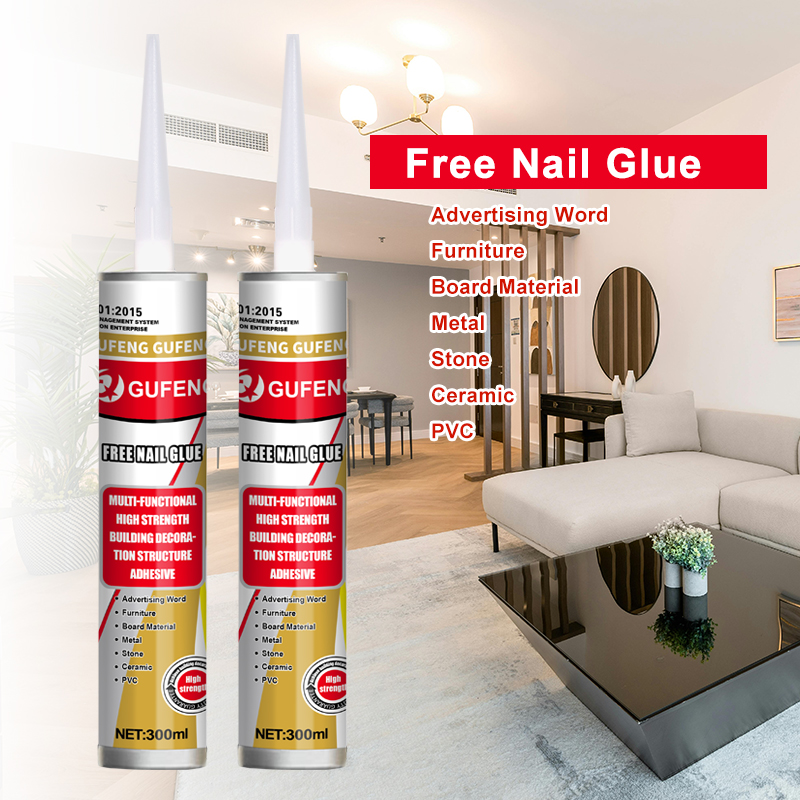
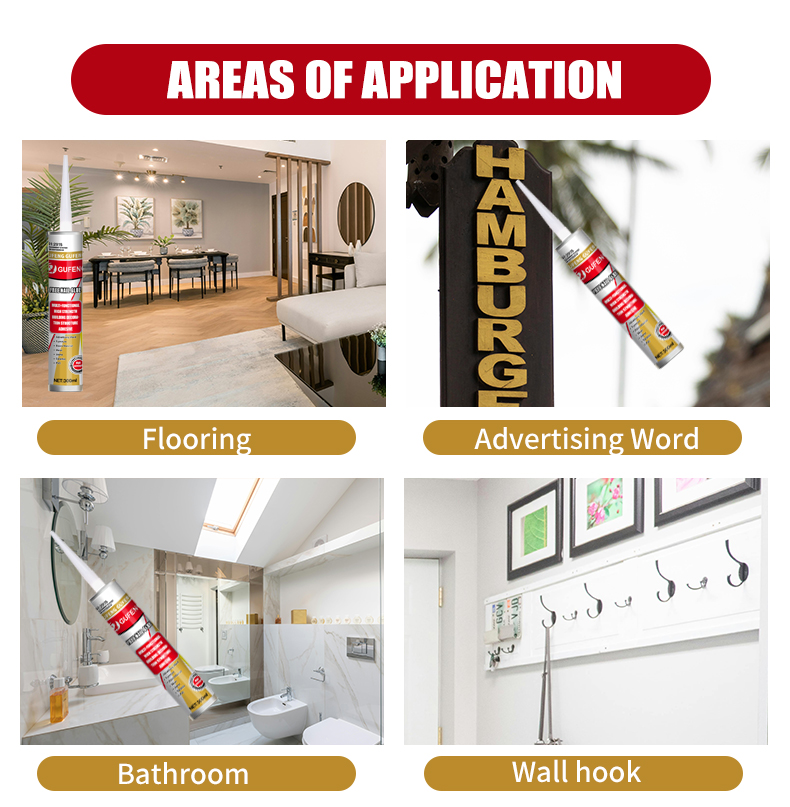
Nail-free adhesive is a strong adhesive that replaces traditional fastening methods like nails and screws. It's commonly used for attaching items like hooks, mirrors, shelves, skirting boards, and decorative panels. It's particularly suitable for smooth or difficult-to-perforate surfaces like tile, glass, metal, plastic, and wood. Proper application is key. Below are detailed instructions and precautions:
I. Pre-Application Preparation
Surface cleaning: Use a clean cloth or tissue to thoroughly remove any impurities such as dust, oil stains, water stains, and wax from the bonding area. For very smooth surfaces (such as tiles, glass, and metal), it is recommended to wipe and clean with alcohol or acetone to remove the invisible grease film to the naked eye, and then dry with a dry cloth. Make sure the pasting surface is completely dry.
- Item preparation: Clean the back of the items to be pasted (the pasting surface). Make sure the shape and material of the back of the item are suitable for pasting (flat or textured but in contact with the adhesive surface).
- Tool preparation: Nail-free glue (ensure it is within the shelf life); Rubber gun Utility knife A clean damp cloth or wet paper towel (for immediate cleaning); Tissues or old cloth; Level; Temporary fixing tools (such as masking tape, adhesive tape, heavy objects, support rods, etc.); Gloves.
II. Apply the nail-free adhesive
- De-gluing: Unscrew the cap of the nail-free rubber tube, use a utility knife to cut the glue nozzle diagonally along the marked line (the size of the opening depends on the size of the adhered object and the required amount of glue), and then insert the rubber tube into the glue gun.
- Gluing method (very important) : Dot/Strip application: This is the most common and recommended method. On the back of the item to be pasted, apply continuous serpentine lines, dots or grid-like glue along the edge or center position. Do not cover the entire back!
- Amount of glue applied: Adjust according to the size, weight and material of the item. Heavier or larger items need to be coated with several more strips. The width and height of the adhesive tape/point are recommended to be around 3 to 8mm. If too little is applied, it won't stick firmly; if too much is applied, it may spill out, be difficult to clean and cure slowly.
III. Pasting and Fixing
- Alignment: Quickly and accurately align the glued item with the position to be pasted. Once in contact, it's very difficult to adjust the position again! Use a level to ensure that the items are stuck horizontally or vertically.
- Pressure bonding: After alignment, press the item firmly onto the bonding surface for a few seconds to ensure that the adhesive is in full contact with both surfaces.
- Temporary fixation: Immediately use temporary fixation methods to firmly secure the item to prevent it from shifting or falling off. This is the key to ensuring the bonding effect! Common method: Masking tape/adhesive tape: Cross-stick it on the surface of the item and fix it on the wall/countertop. Support: Press heavy objects (such as books, boxes) onto the items, or support the items with wooden sticks, broom handles, etc. Suction cups/adsorption tools: For smooth surfaces such as glass. Fixed time: It is determined based on the brand of the nail-free adhesive, environmental temperature and humidity, as well as the load-bearing capacity. It generally requires at least a fixed 24 hours or more (extremely important!)" . For heavier items, damp environments or low-temperature conditions, it is recommended to fix for 48 to 72 hours or even longer. Do not remove the fasteners in advance!
IV. Curing Waiting
- Initial curing (surface drying) : During the fixing period, the surface of the nail-free adhesive will gradually lose its stickiness (about 1-2 hours). At this point, it won't stick to the hand when touched, but the interior is still curing.
- Complete curing: It takes a relatively long time for the nail-free adhesive to reach its maximum strength. It usually takes 24 to 72 hours. The higher the ambient temperature and the greater the humidity (within a reasonable range), the faster the curing speed will be relatively. The curing process slows down in a low-temperature and dry environment.
- Load-bearing waiting: Do not hang heavy objects or apply tension on the adhesive until it is fully cured (at least 24 hours later)! Even if the surface is dry, the interior may not have reached its optimal strength yet. For items with heavy loads (such as shelves), it is recommended to wait for a longer time (such as 72 hours) before using them.
V. Clean up the excess glue
- Immediate cleaning (best time) : After pressing and fixing, if any glue is found to be squeezed out, immediately wipe it clean with a clean damp cloth or wet paper towel. At this point, the glue has not yet cured and is the easiest to clean. Act quickly to avoid the glue spreading on the surface.
- Cleaning after curing: If the glue has already cured and hardened, cleaning will be extremely difficult. It can be carefully scraped off with a utility blade or a razor blade, especially suitable for hard and smooth surfaces such as glass and tiles. There are specialized nail-free glue removers available on the market. You can try using them (first test in a concealed area to see if they will damage the surface). Avoid using strong solvents, as they may seriously damage items or the paint surface of walls, the glaze surface of tiles, etc.
VI. Important Notes
- Safety first: Avoid contact with skin and eyes. In case of accidental contact, rinse immediately with plenty of water. The glue on the skin will come off by itself after curing. Keep out of reach of children and pets. Keep the air circulating. Not edible!
- Applicable surfaces: Most suitable for: smooth, hard, non-porous or micro-porous surfaces, such as tiles, glass, metal, lacquered panels, PVC, solid wood, etc. Poor effect or inapplicable: Rough and porous surfaces (such as ordinary cement walls, gypsum boards, wallpaper, latex paint walls, loose wood, fabric, etc.). Heavy objects are prone to fall off when pasted on these surfaces. If it is to be used on surfaces such as latex paint walls, it is essential to ensure that the base layer of the wall is very solid and to increase the area of the glue application as much as possible, and to stick light and small items.
- Load-bearing capacity: The nail-free adhesive has a strong load-bearing capacity, but it has its limits. Be sure to understand the load-bearing capacity description of the purchased product and leave some margin. The larger and flatter the pasting area is, the stronger the load-bearing capacity will be. For particularly heavy items (such as large mirrors and heavy wall cabinets), it is strongly recommended to use mechanical fixation (such as expansion screws) in combination, with nail-free glue as an auxiliary seal and to prevent displacement.
- Environmental factors: Low temperatures (<5°C) or extremely dry environments can significantly slow down the curing speed and even affect the final strength. It cures faster in high-temperature and high-humidity environments. Avoid exposing it to a large amount of moisture immediately after pasting (such as taking a bath). Wait until it is completely cured before coming into contact with water.
- Removal: The cured nail-free adhesive is very difficult to remove completely. It usually needs to be scraped off with a blade, and the remaining part may be difficult to clean thoroughly. Removing items may damage the underlying surface (such as wall plaster). Before use, consider whether it needs to be removed in the future.
Summarize the key steps: Thorough cleaning -> Dot/strip application of adhesive -> Quick and accurate alignment -> Press firmly -> immediate and firm fixation (24-72 hours) -> Wait patiently for complete curing (24-72 hours) -> Then bear weight.
By strictly following these steps and providing sufficient curing time, the nail-free adhesive can exert a strong adhesive force, making your installation work both easy and secure